Illustrated QuickStart
This tutorial will illustrate the process of downloading the component to creating your first chart.
1. Install
The installation is automated but it also supports xcopy deployment. If you wish to unpack manually and install then follow these steps on a modern OS.
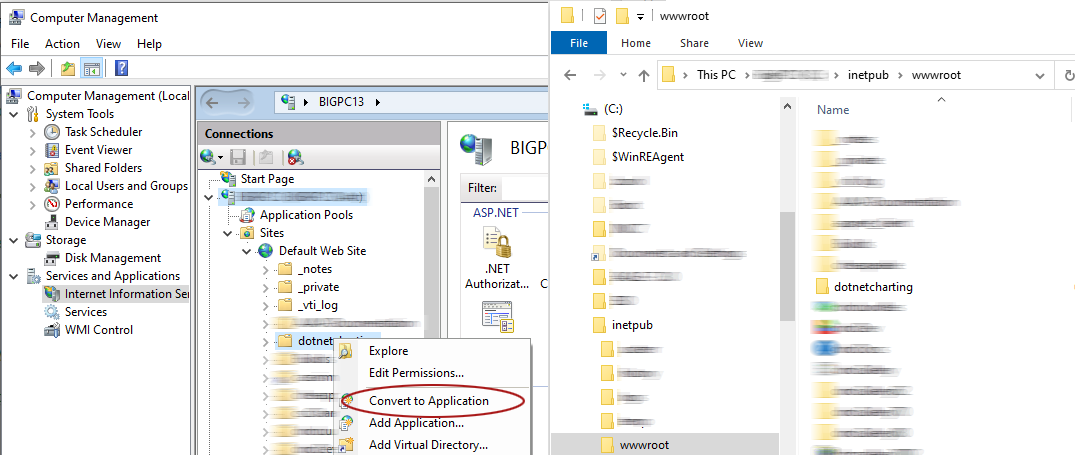
2. Create an application
This section illustrates creating an application. For more details please see the Application Creation tutorial.
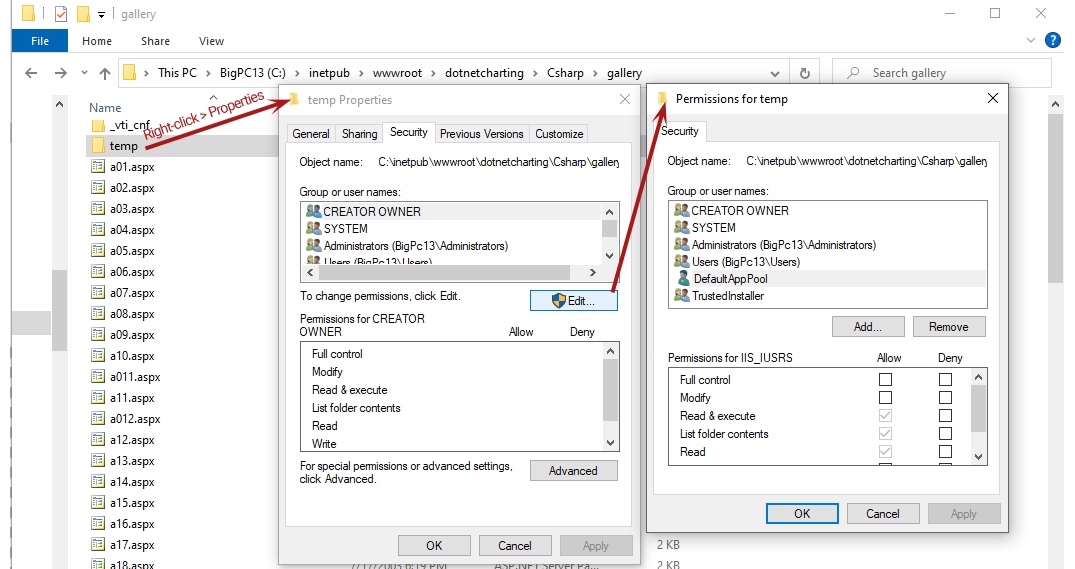
3. Setup permissions
For detailed information on setting permissions please see the installation instructions.
The folders that require the permissions are:
- dotnetcharting/Samples/csharp/temp
- dotnetcharting/Samples/csharp/gallery/temp
- dotnetcharting/Samples/VisualBasic/temp
- dotnetcharting/Samples/visualBasic/gallery/temp
-
..
Steps to add user
- Open Windows Explorer
- Select a file or directory.
- Right click the file and select "Properties"
- Select the "Security" tab
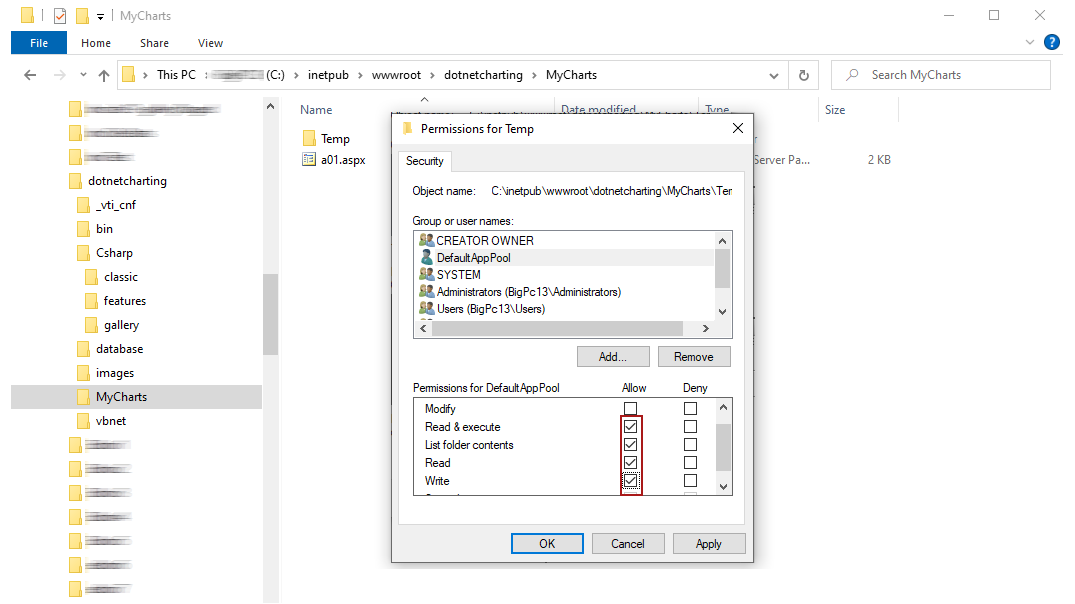
- Click the "Edit" and then "Add" button
- Click the "Locations" button and make sure you select the local machine. (Not the Windows domain if the server belongs to one.)
- Enter "IIS AppPool\DefaultAppPool" in the "Enter the object names to select:" text box. (Don't forget to change "DefaultAppPool" here to whatever you named your application pool.)
- Click the "Check Names" button and click "OK"
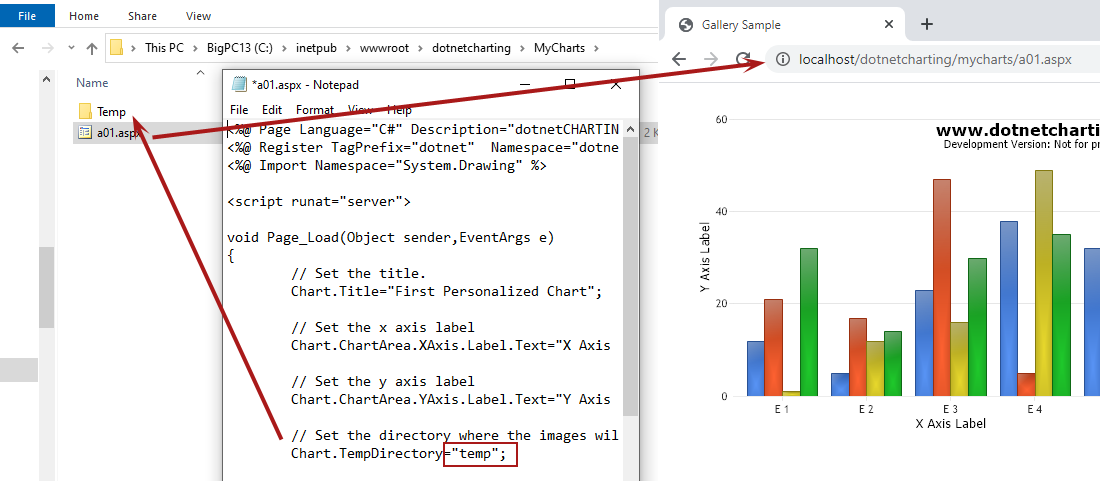
4. Setup your first chart.
Create a new folder under the dotnetcharting directory application to hold the new charts and the temp directory..
5. Edit your first chart